
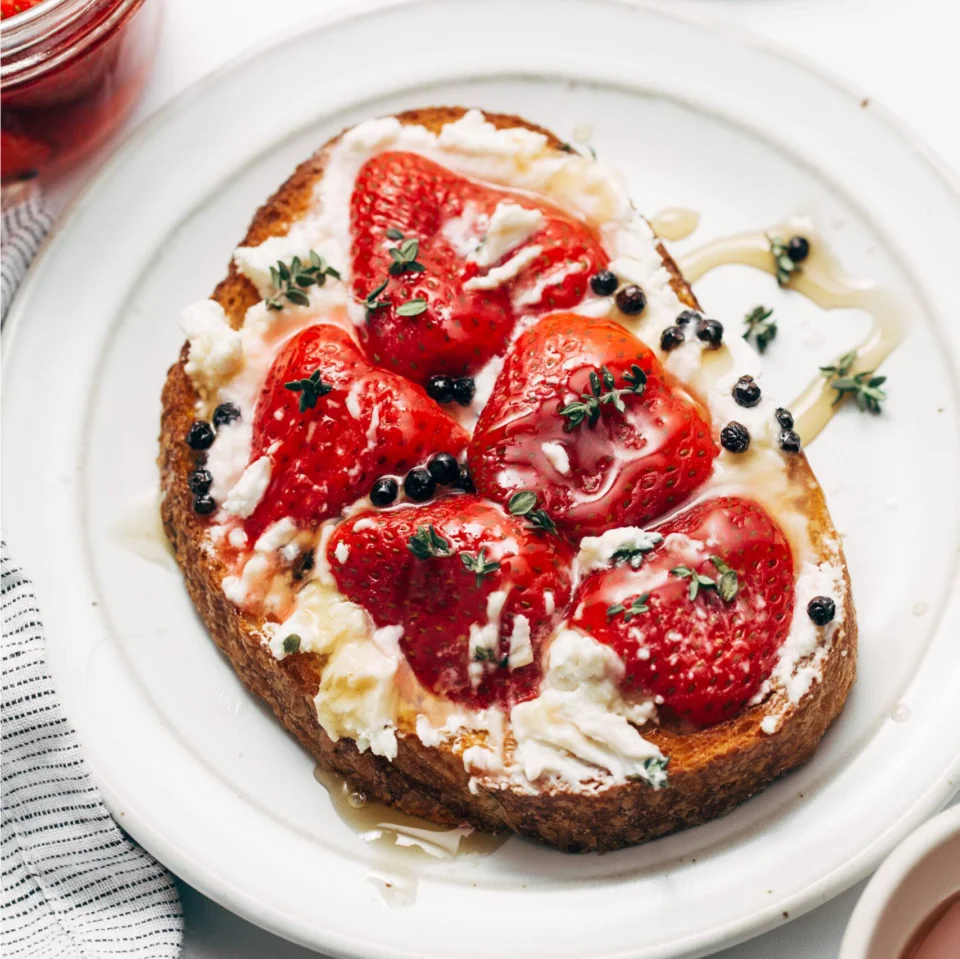
Unexpectedly delightful little pops of sweet vinegar-soaked strawberries on grilled sourdough with goat cheese, thyme, and honey!
This is a brand new recipe that’s part of our Spring 2023 SOS Series – in other words, EASY recipes! View our full collection of SOS recipes here.
In This Post:
Lindsay’s Notes
Okay, hear me out.
Pickled strawberries are my love of the moment. It’s the end of May, the weather feels like summer, school and activity programs are wrapping up, and my interest in making a proper dinner is at an all-time low.
Enter: these delightful little pops of sweet vinegar-soaked strawberries, smushed gently onto grilled sourdough smeared with goat cheese, and finished with thyme and honey, eaten on the deck at 4:30pm, and keeping us full and happy long enough to lounge around outside and enjoy the summer evening for a couple more hours. THESE ARE SO GOOD.
I debated including this recipe in the SOS Series – we usually do dinner recipes in this series, and this one initially looks and feels more like an appetizer or a snack.
But over the last year and a half as I’ve made these, I find that they often start as a pre-dinner snack… and just eventually turn into dinner. Lol. I can’t count the number of times I’ve thrown a jar of these strawberries together in the afternoon, assembled some toasts for a summery outside snack at that magical (challenging) 4pm hour, and then watched as everyone devoured enough bread, cheese, and strawberries to be happy for the rest of the evening. Works for me.
They are simple, unexpected, and honestly just plain fun. It’s the perfect way to sneak a little bit of delight into the week!
Pickled Strawberries Video
Description
Unexpectedly delightful little pops of sweet vinegar-soaked strawberries on grilled sourdough with goat cheese, thyme, and honey!
For the Pickled Strawberries:
For Toasts:
- Pickled Strawberries: Place the strawberries in a jar. Add the vinegar, sugar, peppercorns, and salt. Fill to the top with water. Secure the lid and shake gently to combine.
- Wait Time: Place in the refrigerator for 2 hours, or up to 2 days. (I prefer these within the first 12-24 hours so they don’t get too mushy.)
- For Serving: Fry or grill the bread. I fry a few slices at a time in olive oil on my griddle until nice and golden and crispy. Smear the goat cheese on the toast and top with a few strawberries. Smash them gently with a fork. Sprinkle with bits of thyme, a drizzle of honey, and a hit of salt. Mwah!
- Prep Time: 10 minutes
- Category: Appetizer
- Method: Marinate
- Cuisine: American
Keywords: pickled strawberries, strawberry recipe, strawberry crostini
Recipe Card powered byFrequently Asked Questions
Do I Have To Use White Balsamic Vinegar?
I think you could achieve a similar end result with a different vinegar (apple cider vinegar or champagne vinegar, for example), but I love the white balsamic because it’s naturally sweet and mild. I go out of my way to buy a bottle or two each summer and then just keep it stocked specifically for this recipe!
Do You Eat The Peppercorns?
I do like the peppercorns! They get softened a bit and I think they add the perfect bite of peppery crunch on the toasts, which is why you see them in the picture. That’s how I eat them!
However, I know that’s not for everyone and you can definitely leave them off your final toast creation if you prefer it without anything too peppery.
Could I Use Something Else Besides Goat Cheese?
Cream cheese or ricotta cheese are both great!
Do Your Kids Like This?
They LOVE it. We actually started them on it with a yogurt version – just smeared some whole milk Greek yogurt on the toast with the strawberries and they were so into it.
How Do You Make This Gluten-Free or Dairy-Free?
Use a gluten-free bread, or a dairy-free creamy element. We love Kite Hill cream cheese!
How Else Can You Use These Pickled Strawberries?
There are so many ways to use these – they are awesome just eaten plain, in a yogurt bowl with granola, or on a salad!
More Summer Snackies
Very Incredible Basil Sauce Recipe
Punchy, salty, bright green sauce packed with fresh basil, chives, garlic, and a bit of oregano. This sauce can be poured out just about anything!
This creamy basil sauce is going on EV-ER-Y-THING in my life: sandwiches, eggs, grilled chicken and veggies, dipped with chips?! It’s so good, packed with green goodness, it’s beautifully summery, and I’m doing the most with it.
In This Post:
The main thing:
Other stuff:
How To Make This Basil Sauce
Step 1: Get All Your Ingredients Ready
You can use a blender, food processor, or a mini-chopper-type gadget. I love this mini-chopper (affiliate link). It’s not meant for sauces necessarily, but I use it all the time because it’s super compact.
Step 2: Blend Your Basil Sauce
That’s it! Just blend, taste, and adjust!
This sauce can be a bit chunky / textured, so keep it going until it has the consistency you want. I prefer something right before completely pureed – where it has just barely noticeable flecks of herbs, but it’s mostly smooth and creamy.
Step 3: Put It On All Your Yummy Things
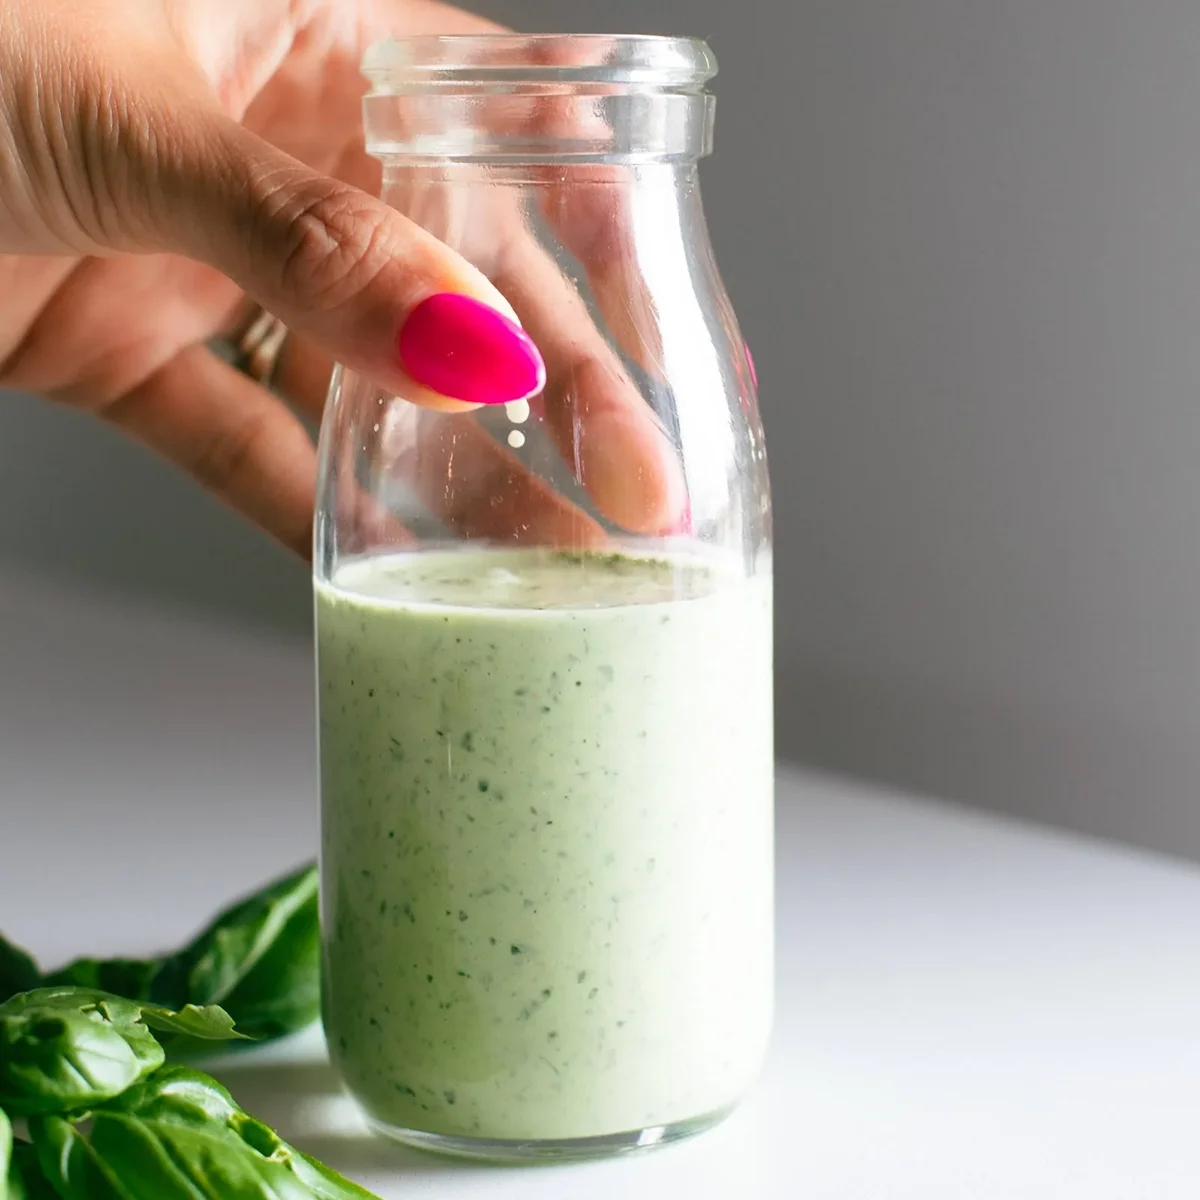
Like so. (Here’s that recipe.)
Lindsay’s Notes
Ooh baby. Basil, chives, garlic, and a tiny hit of oregano all in a creamy, salty, bright green sauce – I love this so much.
The first time I made this, my toddler (who mostly just eats crackers) found a spatula and just sat at the counter licking the remnants of the sauce out of the blender with me. And I hear that from a lot of people – many kids seem to be very into this for unknown reasons. Sometimes it just hits right, ya know? A+ for that experience.
My favorite thing about this sauce, besides that it tastes like heaven, is that makes healthy-ish eating something I really, actually look forward to.
Baked salmon goes up about 100 notches in my book when smothered in this creamy green sauce. Same goes for shrimp, chicken, and a big fresh salad or lots of roasted veggies.
This will not be the last we see of this sauce, which is why I decided to give it its own post on POY. Welcome home, little basil sauce.
Things You Could Put It On
The possibilities! They are endless.
Description
Punchy, salty, bright green sauce packed with fresh basil, chives, garlic, and a bit of oregano. This sauce can be poured out just about anything!
- Place all your sauce ingredients in a blender or food processor. (I use this mini chopper for the vast majority of my sauces because it’s nice and compact!)
- Blend until you get your desired consistency – I usually go for an almost-completely-smooth texture that is flecked with small bits of herbs.
Notes
Taste and adjust! More lemon juice will wake it up, Parmesan adds more umami and saltiness, and if it gets too salty for you, add a bit more mayo to dilute the pungency a bit!
Keywords: basil sauce, basil dressing
Recipe Card powered byFrequently Asked Questions For Basil Sauce
What can I use instead of mayo?I’ve seen some people on Instagram say they used Greek yogurt and liked it. I haven’t made it this way and I know I wouldn’t like it with Greek yogurt because it’s so tangy and has a different flavor. BUT, if you’re okay with it being a bit different than the original, I think Greek yogurt could work!
I have an egg allergy – what can I use?Vegan mayo has no eggs and tastes great! That’s what I’d use!
How long does the basil sauce last?I usually keep it in the fridge for 3-5 days.
Can you make this vegetarian / vegan?Yes! Use vegan mayo and vegan Parmesan! If you can’t find vegan Parmesan, just throw in a bit of extra salt to compensate for the change in flavor. And if you don’t want to use vegan mayo, try using an avocado like we did in this avocado mojo sauce.
Can you freeze this basil sauce?I would not recommend freezing this.
More Of My Favorite Sauce Recipes
Join the Conversation (0)
Nutrition Facts
Amount per serving
- Calories 434 kcal
- Total Fat 11g
- Saturated Fat 3g
- Cholesterol 59mg
- Sodium 419mg
- Total Carbohydrates 46g
- Protein 44g
Hi, I'm Alex!
I love sharing easy, healthy, and family-friendly recipes that anyone can make at home.





Be the first to comment on this recipe!