
Grilling watermelon helps the sugars to caramelize and gives it a delicious hint of smoky flavor! Add a drizzle of honey lime sauce and fresh chopped mint on top for the ultimate refreshing side dish.
Fruity sides are the best addition to any barbecue. They’re delicious, refreshing, and perfect for hot summer days! Grilled pineapple, honey lime poppy seed fruit salad, and creamy grape salad are just a few tasty recipes to serve up all summer long.
Grilled Watermelon With a Honey Lime Glaze
Nothing screams summer quite like watermelon. It’s crisp, juicy, and refreshing- perfect for snacking on as the temperatures rise. Now, I know it’s delicious as-is, but grilling it really takes it to the next level. Grilling watermelon sears in all of those delicious juices and helps the sugars to caramelize! It also adds a slightly smoky flavor which is absolutely amazing. Once you get a bite of this grilled watermelon, you won’t want it any other way!
And it doesn’t stop there- I’ve added an amazing honey lime glaze and chopped mint to this recipe for fresh, juicy flavor you won’t be able to get enough of. It’s the perfect mix of tart and sweet! Plus, this grilled watermelon only takes a few minutes to prepare, making it the perfect finishing touch to any barbecue. Bring this to your next summer get-together and I promise it will be a hit. It’s just too good to resist!
Everything You Need to Make It
Since watermelon is so delicious on its own, you only need a few extra ingredients to enhance it. Trust me, this grilled watermelon recipe is one you’ll want to keep on repeat! Measurements for each ingredient can be found in the recipe card below.
- Watermelon: Although you may be tempted to pick the shiniest watermelon in the bunch, this is a sign that it’s underripe. The perfect watermelon will be heavy, deep green, and slightly dull-looking. Give it a thump- if the sound that comes from it is deep and hollow, this means it has a high liquid content and will be nice and juicy.
- Honey: Adds sweetness and the perfect glazed texture.
- Lime Juice and Zest: Helps to balance out sweetness and gives your grilled watermelon a nice, zesty flavor.
- Mint Leaves: Not only does it smell great, but chopped mint adds a cool refreshing flavor to your watermelon. Basil is also a great herb to add on top!
How to Grill Watermelon
Grilled watermelon is the perfect side and so easy to make! It comes together in less than 15 minutes with just a few simple steps. Once you get a taste of that sweet, smoky flavor, you’ll want to make it again and again.
- Preheat Grill: Preheat the grill to medium-high heat.
- Cook: Add the watermelon to the grill and cook for 4-5 minutes on each side or until slightly charred.
- Prepare Glaze: In a small bowl, add the honey, lime juice, and the zest of one lime. Stir until combined.
- Top Watermelon With Glaze and Chopped Mint: Drizzle glaze on top of the watermelon, garnish with chopped mint leaves and serve immediately.
Tips and Tasty Variations
These are a few extra ways you can customize the flavor of your grilled watermelon. This is a super versatile dish and can easily be tweaked to your liking!
- Oil Your Grill: Brush your grill with a bit of oil before cooking your watermelon to keep it from sticking.
- Sprinkle With Salt: If you sprinkle a little salt on top of your grilled watermelon, it will help enhance its natural sweetness.
- Add Tajin: Tajin is a popular Mexican spice and tastes amazing on fruit! Sprinkle a little on top of your grilled watermelon for a flavor combination that is sour, sweet, juicy, and just a little spicy.
Storing Leftover Grilled Watermelon
Your watermelon will have the best flavor right off the grill, but can be stored and enjoyed a few days after it’s made.
- In the Refrigerator: In an airtight container, your grilled watermelon will stay good for 3-4 days.
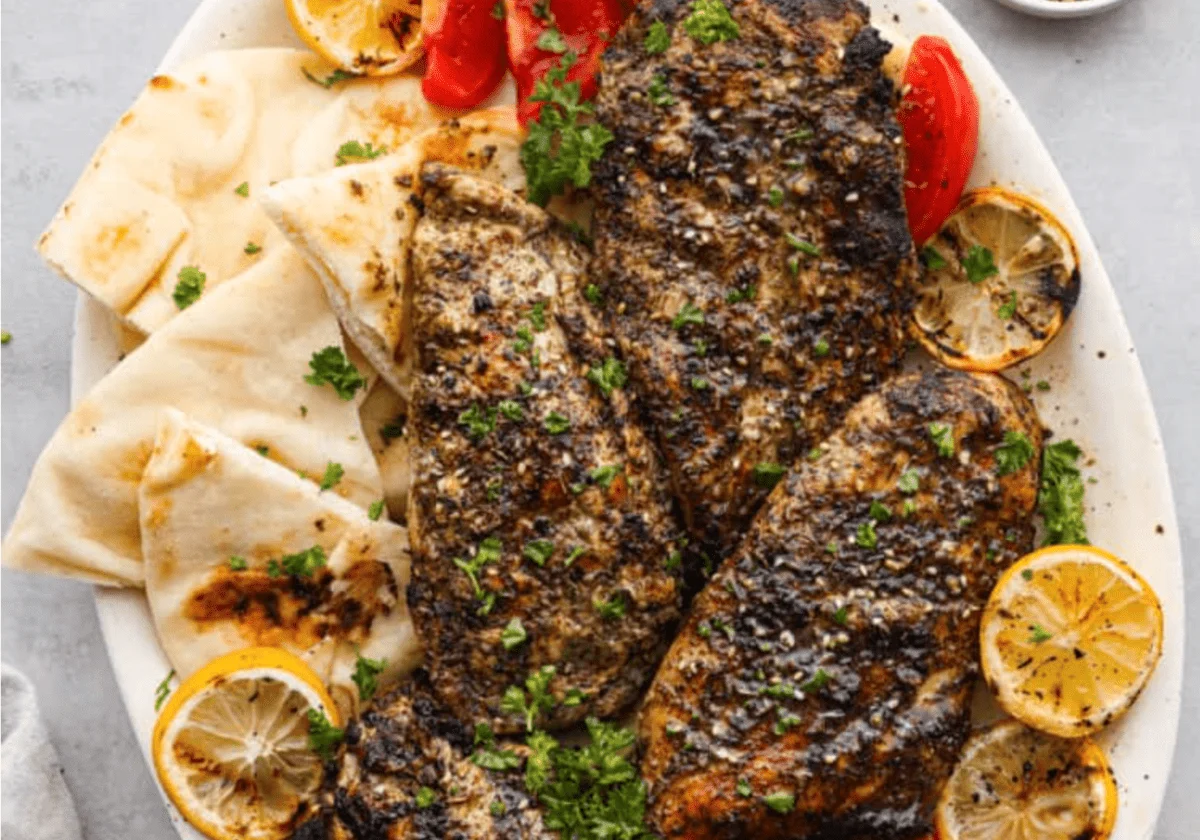
From drinks to salad, watermelon adds a delicious, sweet flavor! Take advantage of watermelon being in season and try out some of these amazing recipes this summer. They’ll keep you cool and refreshed! Seasoned with a traditional Middle Eastern Za’atar spice blend and grilled, this Za’atar chicken is juicy and packed with unique flavors. In just 20 minutes you’ll have a flavorful and filling dinner that no one will forget! If you have never heard of Za’atar seasoning, you are not alone! I just heard of it recently, and now I’m hooked! It’s a great savory blend of warm and earthy seasonings that will really wow your taste buds. You can also make the spice at home! If you like homemade spices, you’ll have to try this Homemade Fajita Seasoning, this better than store bought Italian Seasoning, and this Taco Seasoning too! So at this point you may be wondering what is Za’atar seasoning? It is a blend of savory, nutty, and earthy spices that usually includes oregano, thyme, marjoram, and sumac. There are different blends of Za’atar seasoning based on where you are eating it. Kind of like curry the ingredients can change based on the area it’s made in. I have a link to the Za’atar seasoning blend in the recipe box below too if you want to make it, or you can pick it up from the store. Grilled Za’atar Chicken is quickly marinated in the Za’atar seasoning and olive oil and grilled to perfection. I really think you are going to love this dish! It’s an easy 20 minute dinner that would go great with some pita bread and hummus. I also love with baba ganoush which goes great with this Za’atar seasoning. You can actually sprinkle some on top and the flavor is incredible. I think this will be a new family favorite! These simple ingredients combine to make the most delicious and moist chicken. This Za’atar chicken is so unique, and amazingly flavorful! If you are looking for a great easy dinner, then this is the recipe for you! See the recipe card below for exact measurements. This recipe is so easy! I love how quickly it comes together and it really is so delicious. I ate it with some tomatoes and pita bread and it was perfection. Some of my kids added salt and pepper, but I thought it was perfect the way it was. You can make it however you like, and I know you are going to love it! Here are a few simple ways to make yourself the master of the grill! Once your friends and family get a bite of your grilled Za’atar chicken, they’ll be hooked. It’s hard not to be when they’re so juicy and flavorful. Who doesn’t wan’t grilled Za’atar chicken for leftovers? This recipe makes enough to serve eight people, so if you need to save your leftovers here is how. In the Refrigerator: Store your cooled chicken in an airtight container in the fridge for up to 4 days. I love a simple chicken dinner! But sometimes chicken can taste boring when you are always making it the same way. Here are some recipes that will give you great ideas to keep your chicken tasting unique and juicy!More Delicious Watermelon Recipes
Za’atar Chicken
Grilled Za’atar Chicken
Ingredients
Za’atar Chicken Recipe

Tips for Grilling Chicken
Storing Leftovers
More Chicken Recipes
Join the Conversation (0)
Nutrition Facts
Amount per serving
- Calories N/A
- Total Fat N/A
- Saturated Fat N/A
- Cholesterol N/A
- Sodium N/A
- Total Carbohydrates N/A
- Protein N/A
Hi, I'm Alex!
I love sharing easy, healthy, and family-friendly recipes that anyone can make at home.

Be the first to comment on this recipe!